Fast development of processes in the automotive electronics and medical industry and advanced material applications, the process of experimentation and testing are increasingly demanding more accurate trace weight analysis solutions to meet experimental and inspection requirements.
Example Image — Precision trace measurement
- Suppliers and purchasers can jointly supervise quality through iST, an impartial third party:
Weight gain analysis: Silver and copper specimens in the operation environment may suffer corrosion. Measuring their pre- and post-corrosion weight by trace measurement can learn about corrosion speed and thickness of corrosion (ASTM B810-01). - Suppliers and purchasers can jointly supervise quality through iST, an impartial third party:
Weight loss analysis: Use trace measurement to identify weight loss of products caused by factors, e.g. storage in high or repeatedly changing temperature environment, to learn about capacity of product against environment wear off.

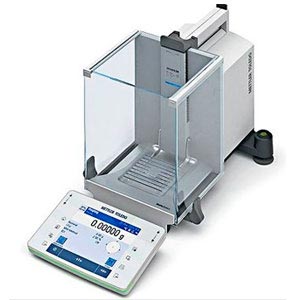
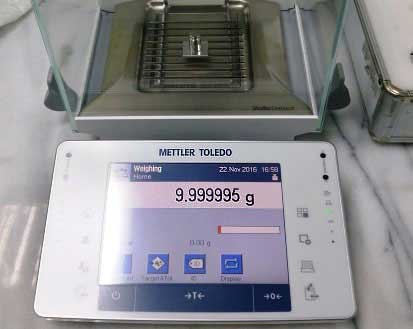
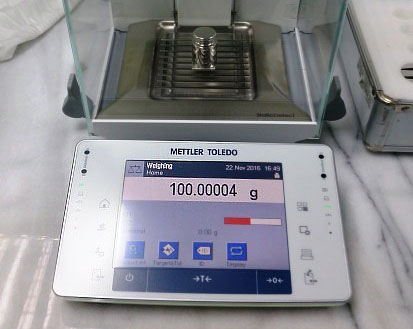
- Latest precision micro balance XPE206DR by Mettler Toledo
- Stepwise balance with readings up to the nearest millionth
- Measurement range: 10 mg-220g
- Regular annual calibration to keep repetitive error below 0.005mg
- We are able to control stable ambient temperature and humidity to ensure balance sensitivity
Contact Window | Mr. Chuang/Daniel | Tel:886-3-5799909 Ext.6406 | email: web_CLR@istgroup.com


