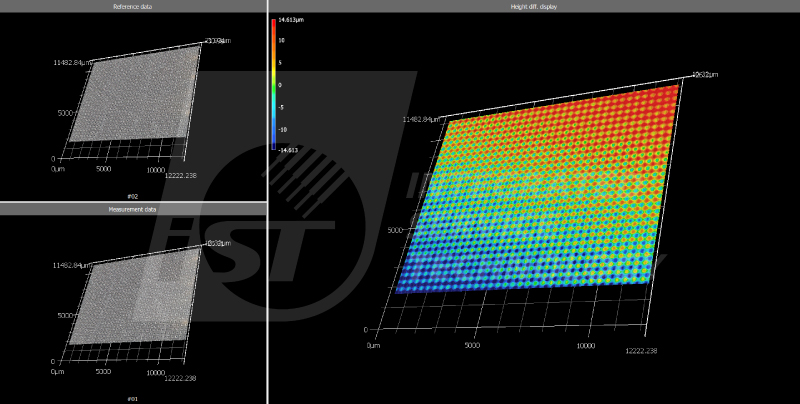
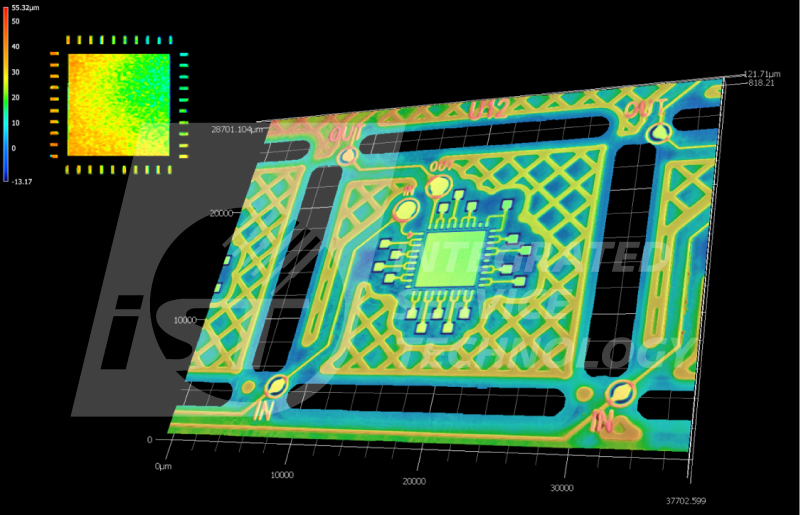
iST’s 3D surface profilometry service is designed to address the limitations of traditional measurement methods, such as low efficiency and operator-induced variability. This non-contact technique enables rapid scanning over large areas, delivering accurate 3D profile measurements.
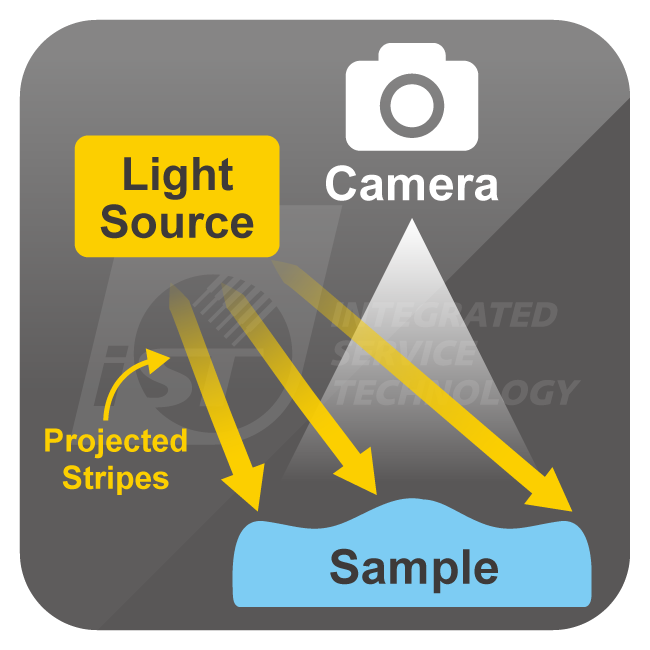
The core principle involves projecting striped light patterns onto the sample surface. Variations in surface height distort the projected stripes, and by calculating the phase shift based on a known incident angle, the system reconstructs a full 3D topography of the sample.
The Superiority of iST
Case Sharing
Gatan GIF Model 1065 Continuum ER

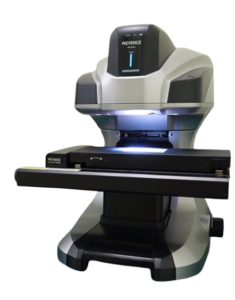
Keyence VR-6200
- Sample Size (mm): 300 x 150 mm
- Z-axis Accuracy: Without Z stitching: ±2.5 µm/ With Z stitching: ±4.0 µm
- XY-axis Accuracy: ±5.0 µm ~ ±2.0 µm
- Z-axis Resolution: 0.1 µm
- XY-axis Resolution: 1 pixel = 1.9~23.5 µm (depends on magnification)
- Equipment Limitation: Transparent samples require pre-treatment
- Wafer
- Bare die
- IC chips
- Capacitor
- passive components
- PCB
- PCBA
- Connector
- Socket
- BGA
- CSP
- QFN
Contact Window | Mr. Liu/Hy | Tel:+886-3-5799909#6419 | Email: web_BLR@istgroup.com


